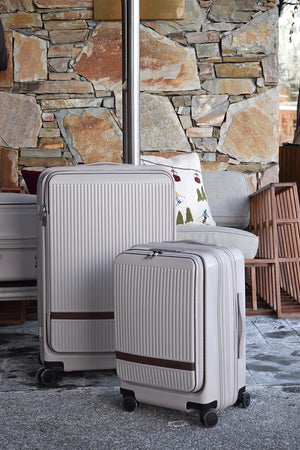
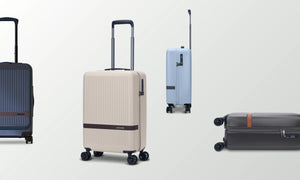
Glide Elite Carry-On Pro

Covers the Glide Elite Carry-On Pro. The Glide Elite Medium and Large Check-In have their own guide.

Glide Elite Carry-On Pro

The Essentials

Set it up, understand the key functions and get ready to use it.

Set your TSA lock
Flush-mounted TSA lock on the Glide Elite, showing the reset button and slide latch

Your case arrives with the TSA lock set to 0-0-0. To set your own combination:

  • Turn the dials to the original combination, 0-0-0.
  • Press the Reset button down with a sharp object like a biro until it clicks.
  • Turn the dials to your new combination.
  • Slide the latch in the direction of the arrow, towards the dials, until it clicks.

Your new combination is now set.

Helpful Tip: Save your combination somewhere secure before you travel.

Lock your wheels
ZeroRoll wheel brake switch on the side of the Glide Elite, marked UNLOCK and LOCK

ZeroRoll brakes lock the two front wheels so your case stays exactly where you leave it. Use them whenever you stop: on a sloping platform, in a queue, or beside a café table.

They are just as handy on the luggage rack of a train or coach, where an unlocked case can roll away the moment the vehicle moves. Lock the wheels before you take your seat.

  • To lock: slide the switch up, in the direction of the LOCK arrow.
  • To unlock: press the UNLOCK button in.

Helpful Tip: Unlock your wheels when checking in your luggage.

Lift your case more easily
Top handle and bottom grab handle on the Glide Elite

Glide Elite has a bottom grab handle designed to work with the top handle, so you can support the case from both ends when lifting.

Hold the top handle in one hand and the bottom grab handle in the other. Use them together when lifting your case off a baggage carousel, into a car boot or onto a luggage rack, or into an overhead locker with the Carry-On.

Helpful Tip: Use the carry handles for lifting, rather than the extendable trolley handle.

Make the Most of It

Practical tips and ideas to help you use it more effectively.

Open it in less space
Glide Elite opened from the front in a small room

Most hard-shell cases open into two halves, taking up space on both sides. Glide Elite opens from the front, so you can access the case while it stays in one footprint.

That makes it easier to use in tighter spaces such as hotel rooms, cruise cabins or beside a luggage rack.

Helpful Tip: Stand the case upright to access the front laptop section. For the main cavity, place the case on a luggage rack or table and lift the front panel upward so you can pack or unpack more easily while using less space.

Keep essentials within easy reach

Use the front pocket for the things you’re most likely to need while moving through the airport or during your journey. It keeps your laptop, tablet, travel documents and other essentials separate from the main packing compartment, so you can reach them without opening the whole case.

Helpful Tip: Keep the items you may need to remove at airport security closest to the zip for quicker access.

Pack the deep main cavity
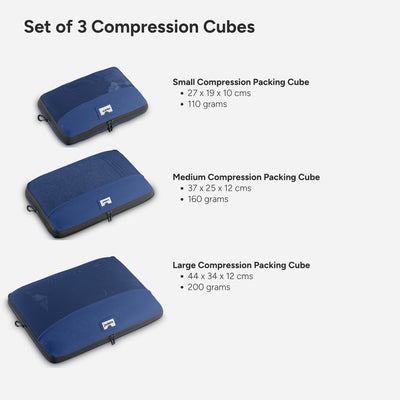
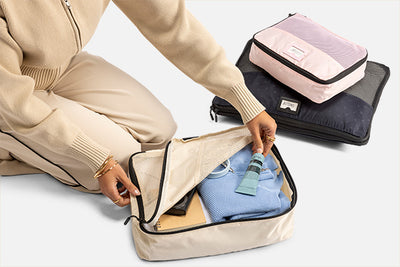
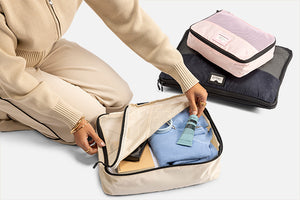
Packing cubes stacked inside the Glide Elite

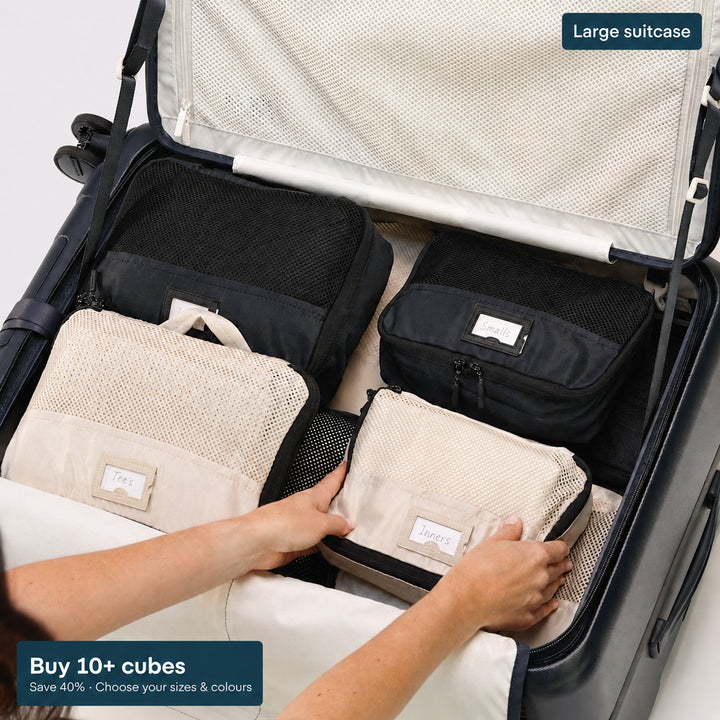
Glide Elite gives you one deep packing space instead of two split sides. Pack in layers, place heavier or bulkier items lower down, and keep the things you’re most likely to need near the top.

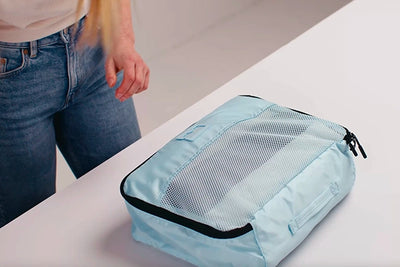
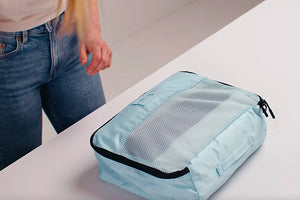
Packing cubes work particularly well here because you can lift out one section without disturbing the rest.

Helpful Tip: Keep an overnight change of clothes or frequently needed items together near the top for quick access.

Care, Repairs & Support

Cleaning, maintenance, troubleshooting and help when something goes wrong.

Clean and store your carry-on
Glide Elite case

Exterior
Wipe the shell with a soft cloth and a mild solution of warm water and dishwashing liquid. Follow with a clean, damp cloth to remove soap residue, then dry with a soft towel.

Interior
Empty all pockets and vacuum loose dust and debris. Spot clean the lining with a lightly damp cloth and mild soap, testing an inconspicuous area first. Avoid soaking the fabric and leave the case open to dry.

Wheels
After each trip, remove dirt and hair with a soft brush, then wipe the wheels with a damp cloth. Use mild soap for stubborn grime and dry thoroughly.

Store your case in its protective bag in a dry place, once the shell, lining and wheels are completely dry.

Helpful Tip: Avoid abrasive cleaners, scouring pads and harsh chemicals that could damage the finish.

Understand your warranty
Glide Elite Carry-On Pro

Glide Elite cases undergo extensive testing and are designed for repeated travel.

What’s covered
Your 10-year warranty covers manufacturing defects in wheels, handles and zippers. Airline damage, misuse, mishandling and normal wear and tear are not covered by this warranty.

Damage to the shell
If your shell cracks or develops another problem, contact us with clear photographs and details of when you noticed it. We assess shell damage case by case and will advise what assistance may be available.

Repairs and spare parts
We carry spare parts, and many components are straightforward to replace. Contact us for advice on suitable parts and repair options.

This warranty is additional to your rights under Australian Consumer Law.

Helpful tip
If your case is damaged in transit, report it to the airline promptly and obtain a damage report. Keep photographs, your baggage tag and the report to support an airline or travel-insurance claim, subject to the relevant coverage.

Helpful Tip: Check your case before leaving the airport. If it’s damaged, report it to the airline and obtain a damage report for an airline or travel-insurance claim.